Discover whether to cook apples first for pie, learn tips, techniques, and explore the best methods to achieve the perfect apple pie.
In the upcoming section, we will dive into the timeless question: Should you cook apples before putting them in pie? This query often arises when bakers seek the perfect apple filling. If you’re looking for inspiration, you might enjoy trying our Cinnamon Roll Apple Pie recipe. Afterward, we will consider the science behind apple texture, flavor, and moisture control. Also, we will explore both raw and cooked approaches, so you can decide which method suits your style best.
In the subsequent chapter, we will uncover the role of apple cooking and how to cook apples in achieving an ideal pie. Afterwards, we will highlight crucial techniques, including stovetop sautéing and oven-roasting, which can improve your pie’s consistency
In the next installment, we will consider the pros and cons of cooking apples beforehand and how that decision affects pie structure. Furthermore, we will delve into preventing common pie problems, such as soggy bottoms and overly watery fillings. Thus, by the end of this piece, you will feel confident about whether you should cook apples before putting them into your pie and how best to cook apples for perfect results.
Understanding Apple Pie Basics
In the following segment, let’s consider the rich American tradition of apple pies. Apple pie stands as a cherished dessert that often symbolizes comfort, celebration, and home. Previously, bakers didn’t always consider precooking apples because older ovens and recipes relied on long baking times. However, as baking techniques evolved, cooks began adjusting methods.
Comparatively, modern bakers seek a consistent texture and flavor. Specifically, many want a filling that is neither too firm nor too mushy, with a balanced sweetness that complements a flaky crust. Altogether, the aim is a dessert that pleases both the eyes and taste buds.
In the next phase, focus on moisture and texture. Because apples release juices when heated, controlling this release is crucial. Furthermore, understanding how apples behave under different conditions sets the stage for the decision to precook.
The Science Behind Cooking Apples Before Baking
In the succeeding section, we turn to the science. Apples contain pectin, a natural fiber that helps the fruit hold its shape. When exposed to heat, pectin breaks down. Eventually, apples soften, and their internal starches convert into simpler sugars. Thereupon, cooking apples before placing them in a pie can help achieve the right softness.
Similarly, controlling moisture is essential. Notwithstanding the natural juices apples release, precooking allows some liquid to evaporate before the pie is assembled. Therefore, the final result can be less watery. Moreover, cooking infuses spices like cinnamon and nutmeg into the fruit, delivering a more unified flavor.
In the ensuing segment, consider balancing sweetness and acidity. Evidently, tart apples may need more sugar, while sweeter apples may benefit from a dash of lemon juice. Likewise, a gentle pre-cook melds these flavors, ensuring the entire filling tastes harmonious.
Pros and Cons of Cooking Apples First
In the next division, let’s break down the benefits. Generally, precooking improves consistency, making it easier to predict how the apples will behave. Certainly, the apples become more tender, and their flavors meld well with added sugars and spices. Additionally, less shrinkage occurs, so there’s fewer gaps beneath the crust.
However, there are drawbacks. Because it’s an extra step, precooking adds time. Nevertheless, this effort often pays off in quality. Although you must avoid overcooking, proper timing ensures a balance between tender and mushy. Still, some bakers appreciate the fresh flavor of raw apples and prefer the simplicity of skipping precooking.
In the next subsection, we’ll compare raw vs. cooked fillings in detail.
Comparing Raw Apple Filling vs. Cooked Apple Filling
In the next part, consider raw fillings. Raw apples retain a crispness that many enjoy. But, they may release too much liquid, making the crust soggy. Moreover, raw apples can sometimes stay too firm if the pie doesn’t bake long enough.
Conversely, cooked fillings produce a softer, more integrated texture. Likewise, spices mix thoroughly, and sweetness levels become more predictable. Hence, a cooked filling often reduces guesswork, though it requires more planning.
Advancing to the next topic, we’ll explore techniques for safely and effectively cooking apples before assembling your pie.
Techniques for Cooking Apples Before Putting in Pie
On to the following discussion, let’s review methods:
- Stovetop Sautéing: Firstly, peel and slice apples. Then, cook them gently in butter, sugar, and spices until slightly tender. Because this helps reduce liquid, the filling won’t flood the crust.
- Oven-Roasting: Secondly, toss apple slices in sugar and spices, spread on a baking sheet, and roast at moderate heat. Eventually, apples caramelize lightly and develop depth.
- Microwaving or Steaming: Thirdly, short bursts of microwaving or gentle steaming can soften apples. However, watch closely to avoid mushiness.
Following these steps, remember to adjust sugar based on the apple variety. For example, Honeycrisp might need less sugar, while Granny Smith might need more. In the next installment, we’ll dive deeper into choosing the right apple types.
Choosing the Right Apple Varieties
Heading into the subsequent area, consider the apple selection. Because texture is vital, choose apples known for holding shape during baking. For instance, Granny Smith, Braeburn, and Honeycrisp remain firm. Comparatively, McIntosh or Cortland apples soften quickly, so partial cooking might be enough.
Nevertheless, mixing varieties creates complexity. Specifically, combine a tart variety (e.g., Granny Smith) with a sweeter one (e.g., Golden Delicious). Hence, the filling can achieve a balanced sweet-tart profile. In the next subsection, we’ll refine tips for perfectly precooked fillings.
Tips for Perfectly Cook Apples Filling
Moving forward to the next topic, to achieve an ideal texture, test apple slices for doneness. Till they yield slightly to a fork’s pressure, but do not collapse. Equally, consider thickening agents. Cornstarch, flour, or tapioca helps prevent runny fillings. Because precooked apples release less liquid, you may use less thickener than in a raw filling.
Moreover, let the apples cool before assembling the pie. Otherwise, steam can form, making the crust soggy. Continuing in the following part, we’ll discuss how to assemble the pie once the apples are prepared.

Assembling and Baking the Pie After Precooking Apples
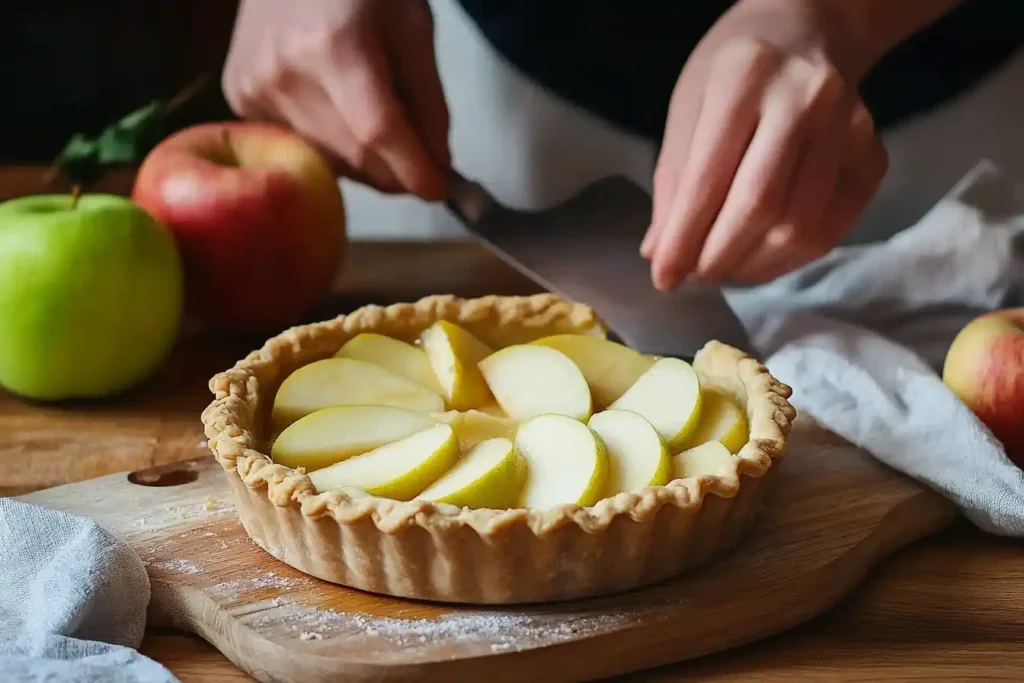
Transitioning to the subsequent portion, roll out a well-chilled crust. Before adding apples, ensure the crust’s bottom is sturdy. Then, spoon in the cooled precooked filling. Additionally, add butter pats to enrich flavor. Correspondingly, top with a vented crust so steam can escape.
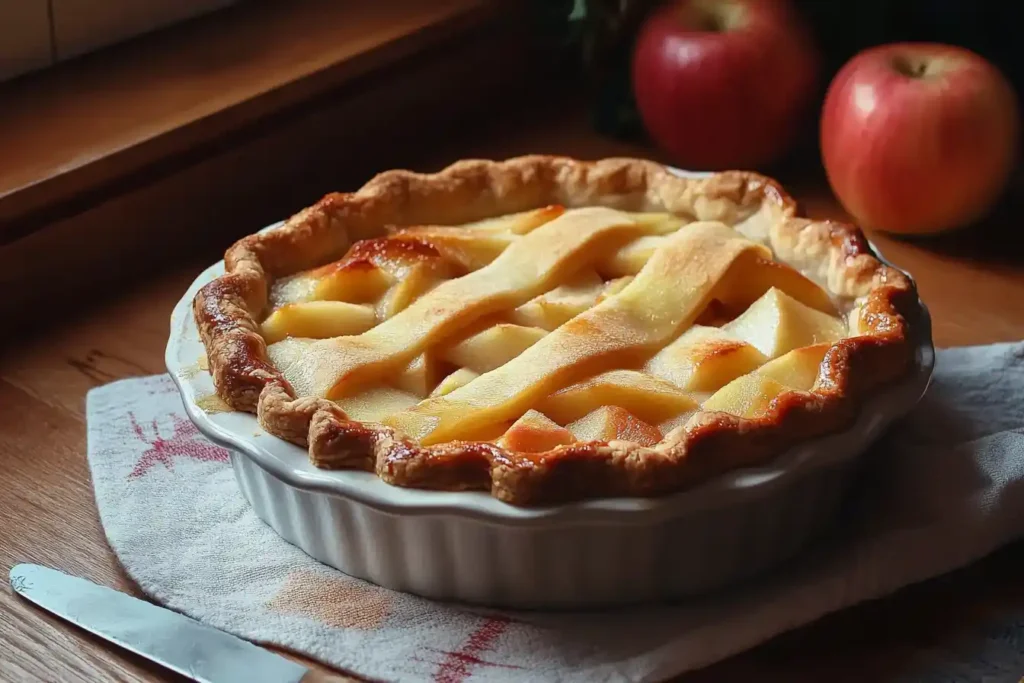
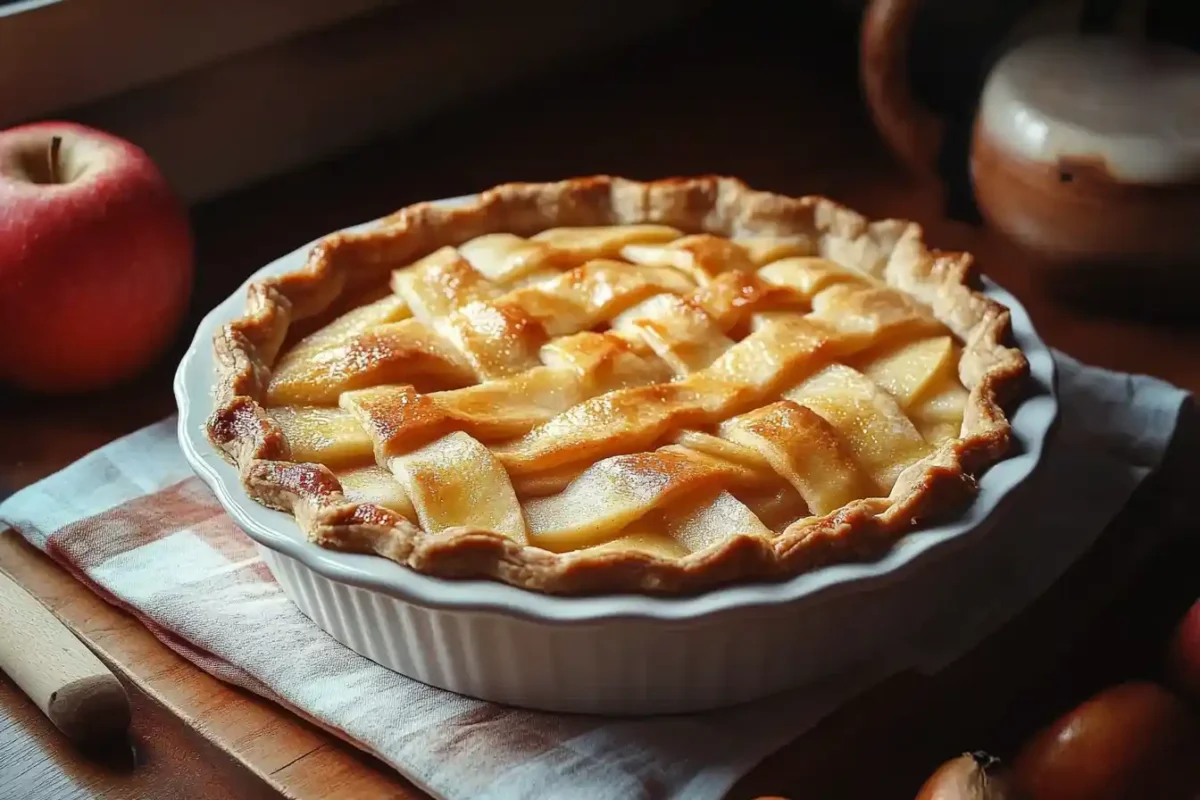
Furthermore, baking time might be shorter since apples are partly cooked. Eventually, check for bubbling juices and a golden crust to ensure doneness. In the next phase, we’ll address common pie problems and how precooking helps avoid them.
Preventing Common Pie Problems
In the ensuing segment, let’s tackle common issues. Notwithstanding your efforts, pies may turn watery. Because apples release juice, precooking lets some water evaporate. Consequently, thickening is more manageable.
Similarly, soggy crusts can be avoided. Indeed, par-baking the bottom crust or using a metal pie dish helps. Altogether, controlling apple moisture, using correct thickeners, and proper baking temperatures ensures a crisp crust and luscious filling.
In the next division, we’ll consider alternative approaches to precooking apples, exploring partial cooking, flavor enhancements, and special techniques.
Alternative Approaches
On to the following discussion, if fully precooking seems time-consuming, consider partial cooking. For example, lightly sauté for a few minutes to soften the edges while keeping a crisp center. Comparatively, full cooking results in a jammy filling.
Another technique involves cooking apples in apple cider or even wine. Specifically, reduce these liquids to form a syrup that binds with apples for intense flavor. Additionally, experiment with new spices. For example, add cardamom or ginger for complexity.
Advancing to the next topic, we’ll review a step-by-step recipe for a classic precooked apple pie, including ingredient ratios and baking times.
Step-by-Step Recipe Example: Precooked Apple Pie

In the next installment, let’s Cook Apples through an example
Ingredients (for one 9-inch pie):
- 2 lbs Granny Smith apples, peeled, cored, sliced
- 1 lb Honeycrisp apples, peeled, cored, sliced
- ½ cup granulated sugar (adjust to taste)
- 2 tbsp unsalted butter
- 1 tsp ground cinnamon
- ¼ tsp grated nutmeg
- 1 tbsp cornstarch (if needed)
- 1 tbsp lemon juice (adjust to taste)
- Pinch of salt
- 2 pie crusts (bottom and top)
Procedure:
- Initially, melt butter in a large skillet over medium heat. Then, add sliced apples, sugar, cinnamon, nutmeg, and a pinch of salt. During this stage, stir gently until apples soften slightly, about 5-7 minutes. Afterwards, taste and adjust sweetness with more sugar or tartness with lemon juice.
- Soon, if apples release too much liquid, sprinkle cornstarch and stir well. Eventually, the mixture thickens. Remove from heat and let cool completely.
- Afterwards, preheat your oven to 375°F. Likewise, roll out the bottom crust into a pie dish and fill it with the cooled apple mixture. Certainly, dot with butter bits.
- Before placing the top crust, cut vents for steam. Forthwith, place it over the apples and crimp edges. Comparatively, ensure a tight seal.
- Now, bake for 45-55 minutes, or until the crust is golden and juices bubble. Finally, let the pie rest 2-3 hours before slicing to allow the filling to set.
In the succeeding section, we’ll discuss serving, storing, and reheating tips.
Serving, Storing, and Reheating Tips
In the next phase, once the pie cools, slice and serve. E.g., top with vanilla ice cream or whipped cream. Eventually, store leftovers in the fridge, covered with foil. Surely, it lasts about 2-3 days refrigerated.
If you plan to freeze slices, wrap them tightly. Comparatively, reheating in the oven preserves the crust’s crispness better than a microwave. In the ensuing segment, we’ll consider nutrition and possible dietary adjustments.
Nutritional Considerations
Shifting to the next part, remember that precooking apples with sugar may raise carbohydrate levels. Nevertheless, you can reduce sugar or use a sugar substitute. Correspondingly, consider whole wheat crust for added fiber. Because apples already contain natural sweetness, adding less sugar is possible.
Additionally, remember that apple pies are treats. Generally, moderation matters. In the next subsection, we’ll address the frequently asked questions that many home bakers have.
Frequently Asked Questions (FAQs) About Cook Apples
Moving forward to the next topic, here are common questions:
Q1: Should I pre-cook my apples for apple pie?
A: Certainly, precooking helps control moisture and achieve a tender filling. Although optional, many find it improves flavor and prevents soggy crusts.
Q2: Should you cook fruit before putting in pie?
A: Generally, precooking fruit reduces excess liquid and ensures even texture. Altogether, it depends on the fruit. Apples often benefit from partial cooking, while berries may need less or no precooking.
Q3: How do you keep apples from getting mushy in a pie?
A: Indeed, limit cooking time. Comparatively, choose firm apple varieties and cook briefly until slightly tender, not fully soft. Therefore, test frequently for texture.
Q4: Are cooked apples better than raw apples for apple pie?
A: Unquestionably, it depends on personal preference. Because cooked apples yield a consistent, integrated flavor, many prefer them. Nevertheless, raw apples can offer a fresh flavor and crunch some people love.
Cook Apples into this Conclusion
Should you cook apples before putting in pie? The answer depends on your personal preferences and priorities. Albeit, precooking offers numerous advantages. Certainly, it helps control moisture, ensures even texture, and blends flavors more harmoniously. Because precooked apples release less liquid, the final pie often avoids soggy bottoms and maintains a tender yet structured filling.
Conversely, leaving apples raw simplifies the process and preserves a fresh, crisp fruit quality. Still, this approach may lead to inconsistent textures and occasional extra moisture. Nevertheless, experimenting with both methods will help you discover which technique best suits your taste and style. Eventually, by understanding the pros and cons, adjusting for apple varieties, and applying effective cooking techniques, you can create a stunning apple pie that delights every palate.

